Key features of ns_all_sliders extension:
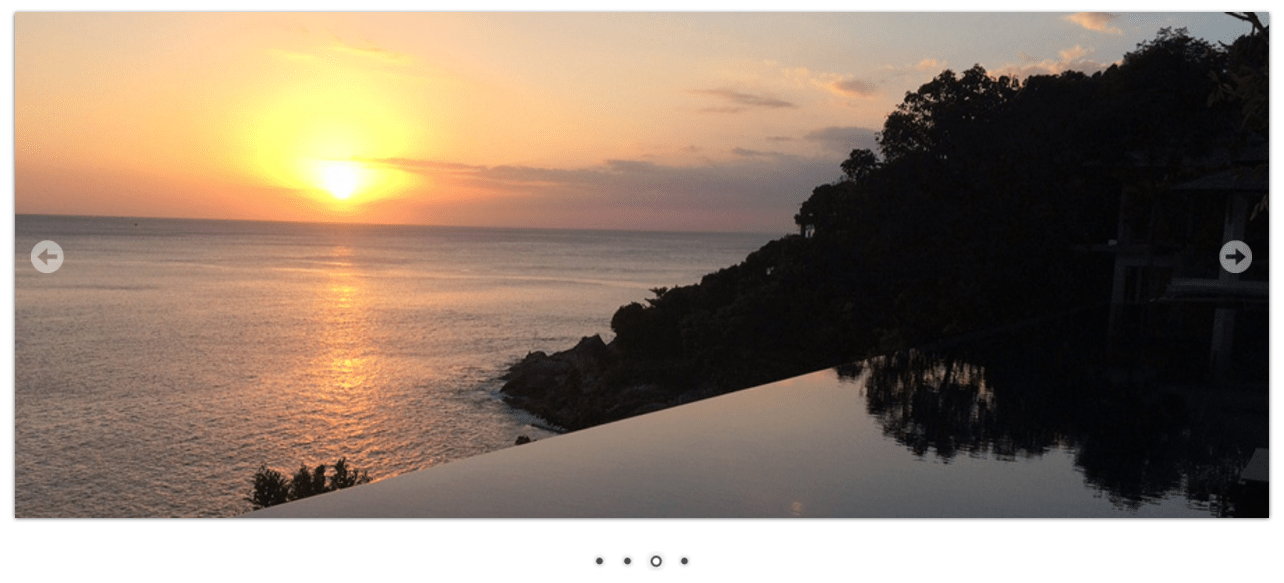
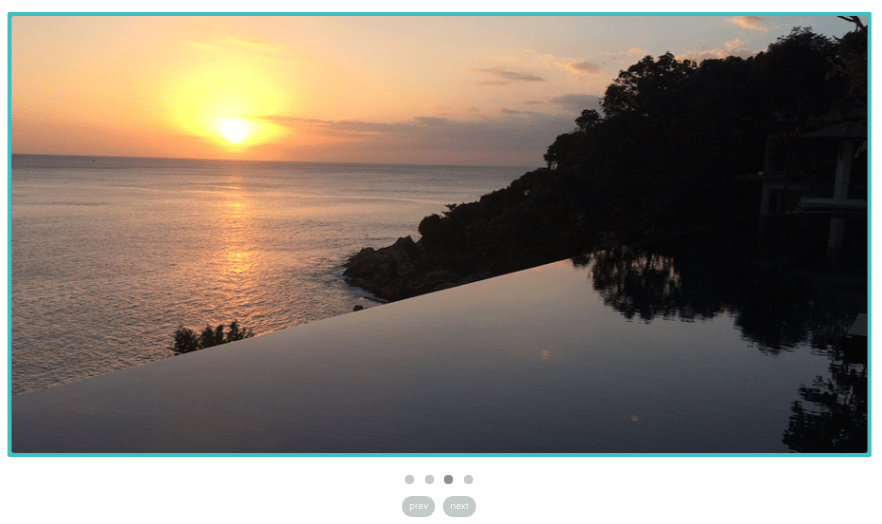
- Lex Slider
- bxSlider
- Owl Carousel
- Nivo Slider
- Responsive Slides – Responsive & incredibly light weight
- Polaroids Gallery
- Easy To Use
- Autoplay Option
- Touch Screen
- Customizable Borders
1. Overview of extension
| Extension Key: | ns_all_sliders |
| Extension URL: | https://extensions.typo3.org/extension/ns_all_sliders/ |
| Documentation: | nitsantech.com/blog/t3ext-day-all-in-one-slider-plugin/ |
| Support: | https://github.com/nitsan-technologies/ns_all_sliders/issues |
2. Back-end view after plug-in installation
The extension needs to be installed as any other extension of TYPO3 CMS:
2.1 Get the extension
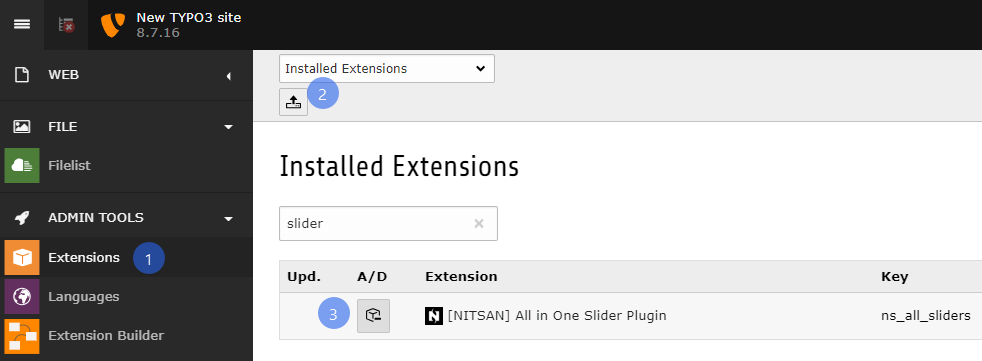
Step 1: Switch to the module “Extension Manager”.
Step 2: Get the extension -
- Get from the Extension Manager: Press the “Retrieve/Update” button and search for the extension key and import the extension from the repository.
- Get it from typo3.org: You can always get the current version from https://extensions.typo3.org/extension/ns_all_sliders/ by downloading either the t3x or zip version. Upload the file afterwards in the Extension Manager.
Step 3: Now the install the Extension.
2.3 Configuration
Quick & Easy configuration of "All Sliders" into TYPO3
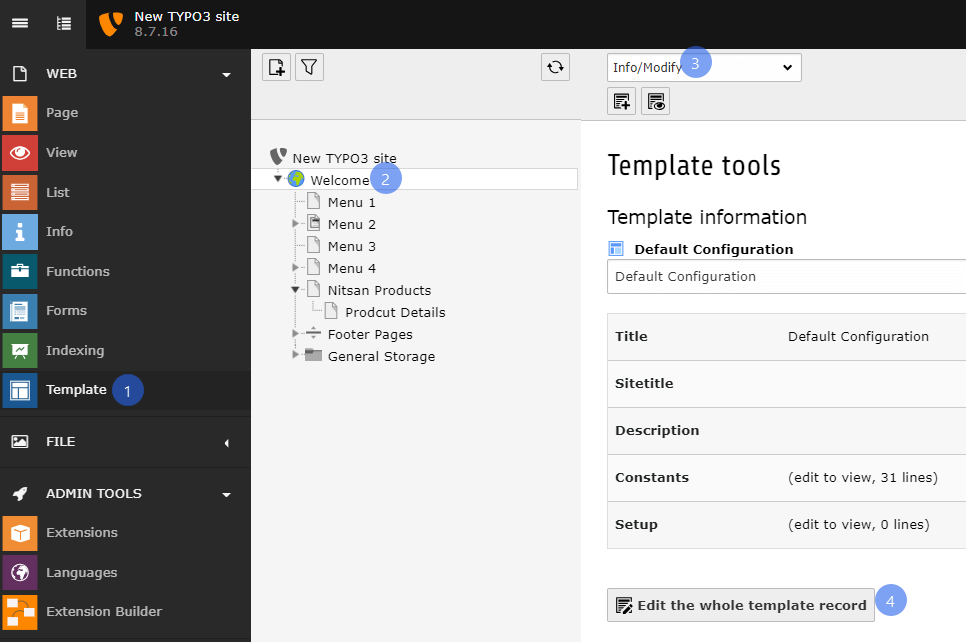
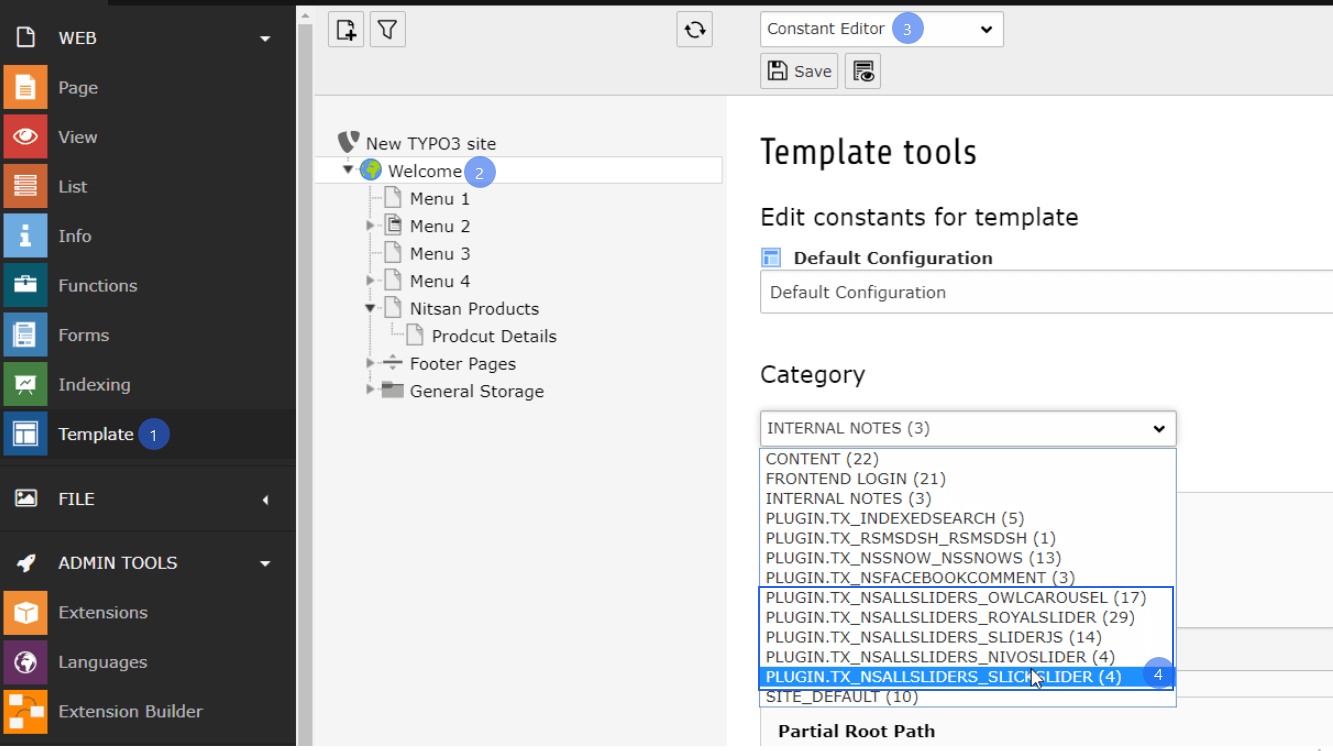
Step 1: Go to the Template module.
Step 2: Switch to the root page.
Step 3: Select Constant Editor.
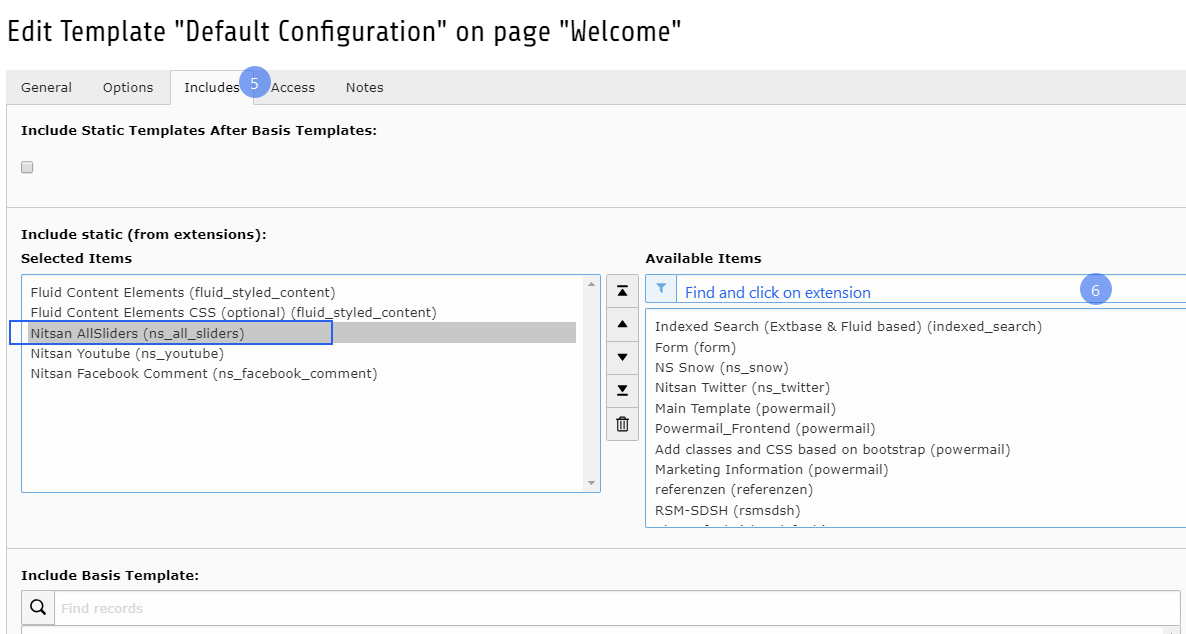
Step 4: Select Category as follows PLUGIN.TX_NSALLSLIDERS_OWLCAROUSEL (17), PLUGIN.TX_NSALLSLIDERS_ROYALSLIDER (29), PLUGIN.TX_NSALLSLIDERS_SLIDERJS (14), PLUGIN.TX_NSALLSLIDERS_NIVOSLIDER (4) You can configure it as per your requirement.
Step 7: Now configure this plugin.
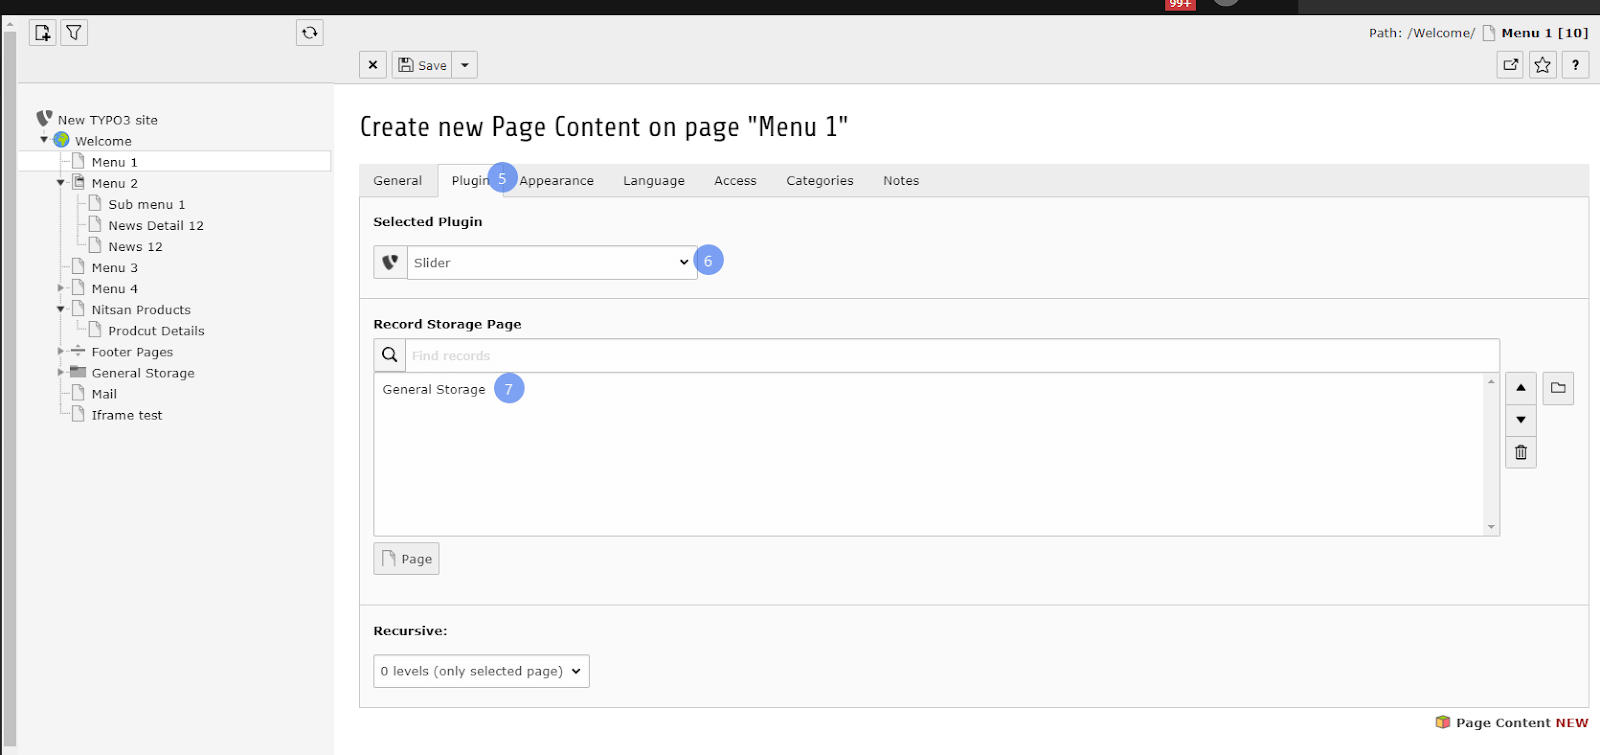
Step 7.1: Go to Page Module.
Step 7.2: Open the page where you want to add this plugin.
Step 7.3: Click on add content button and switch to Plugins tab.
Step 7.4: Select the Slider plugin.

3. Clear clearing
Please, clear cache from top panel 'Flush frontend caches' & 'Flush general caches'. It will be also great to clear cache from Install tool too.
4. Support
- Support: You could report any issues/problems at Github - https://github.com/nitsan-technologies/ns_all_sliders/issues
- Website: https://nitsantech.com/ | https://itug.in/
- Contact Email: sanjay@nitsan.in
Feedback & Suggestions
Just download & try the EXT:ns_all_sliders extension. You can write down your feedback/suggestion/comments to below comment box. So, we will adapt it for next version of EXT:ns_all_sliders.
Now, Enjoy with adding your favourite 'slider' at your cool TYPO3 website
![[T3EXT DAY] All in One Slider Plugin](/blog/fileadmin/ns_theme_ns2019/blog/live/TYPO3-Extension-AllSliders/all-in-one-slider-plugin_V3.jpg)





Comments and Responses