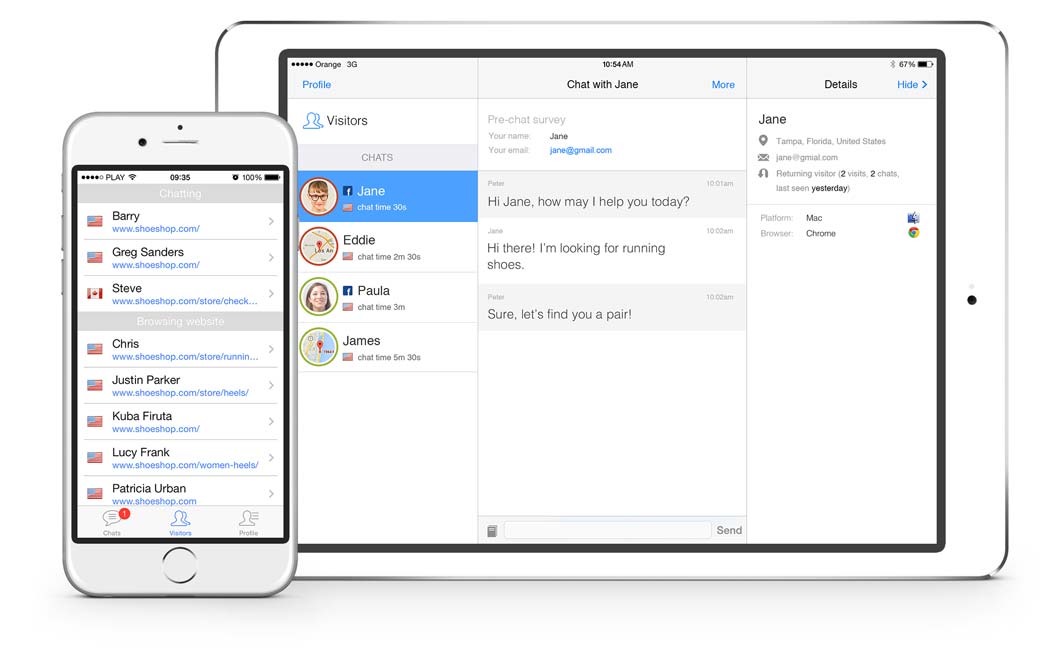
zopim.com, livechatinc.com, purechat.com, livezilla.net, clickdesk.com, tidiochat.com, visitlead.com, onwebchat.com, userlike.com & more will be available in an upcoming version.
1. Overview of extension
| Extension Key: | ns_all_chat |
| Extension URL: | https://extensions.typo3.org/extension/ns_all_chat/ |
| Documentation: | nitsantech.com/blog/post/t3ext-day-nitsan-all-chat-typo3-extension/ |
| Support: | https://github.com/nitsan-technologies/ns_all_chat/issues |
2. Back-end view after plug-in installation
The extension needs to be installed as any other extension of TYPO3 CMS:
2.1 Get the extension via composer
Using the command line
composer require nitsan/ns-all-chat:dev-master
2.2 Get the extension
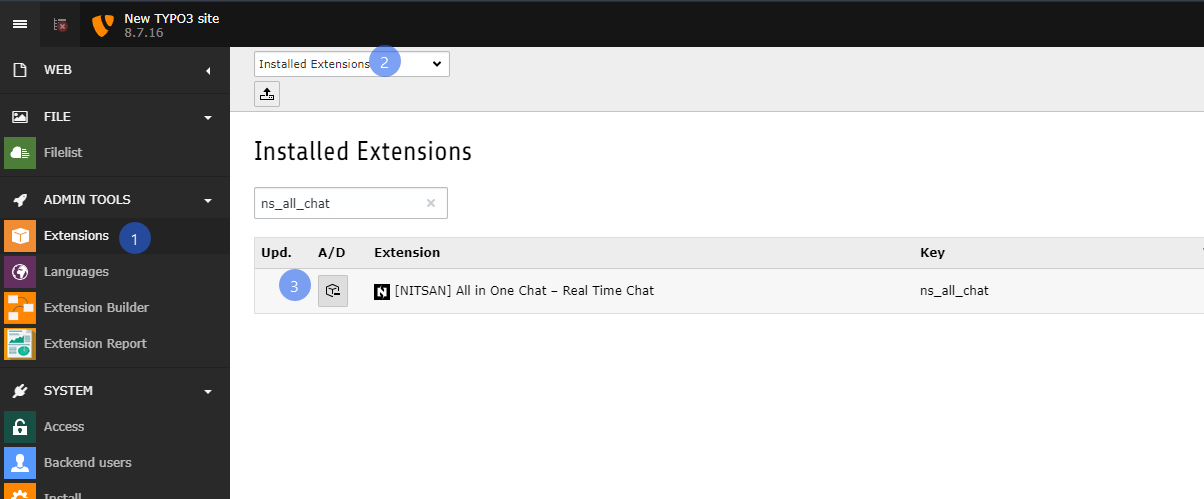
Step 1: Switch to the module “Extension Manager”.
Step 2: Get the extension -
- Get it from the Extension Manager: Press the “Retrieve/Update” button and search for the extension key ns_all_chat and import the extension from the repository.
- Get it from typo3.org: You can always get current version from https://extensions.typo3.org/extension/ns_all_chat/ by downloading either the t3x or zip version. Upload the file afterward in the Extension Manager.
Step 3: Now install the extension.
3. Configuration
3.1 Choose & Setup account at one of your favourie chat tool
Step 1: You should setup an account at one of your favourite chat tool eg., zopim.com, livechatinc.com, purechat.com, livezilla.net, clickdesk.com, tidiochat.com, visitlead.com, onwebchat.com, userlike.com, hipchat.com
Step 2: You will able to find section where you can add your site's URL.
Step 3: Once you configure your site at chat tool, Please copy a script code including (script) which will provide by your chat tool.
3.2 Setup all the configuration of Live chat
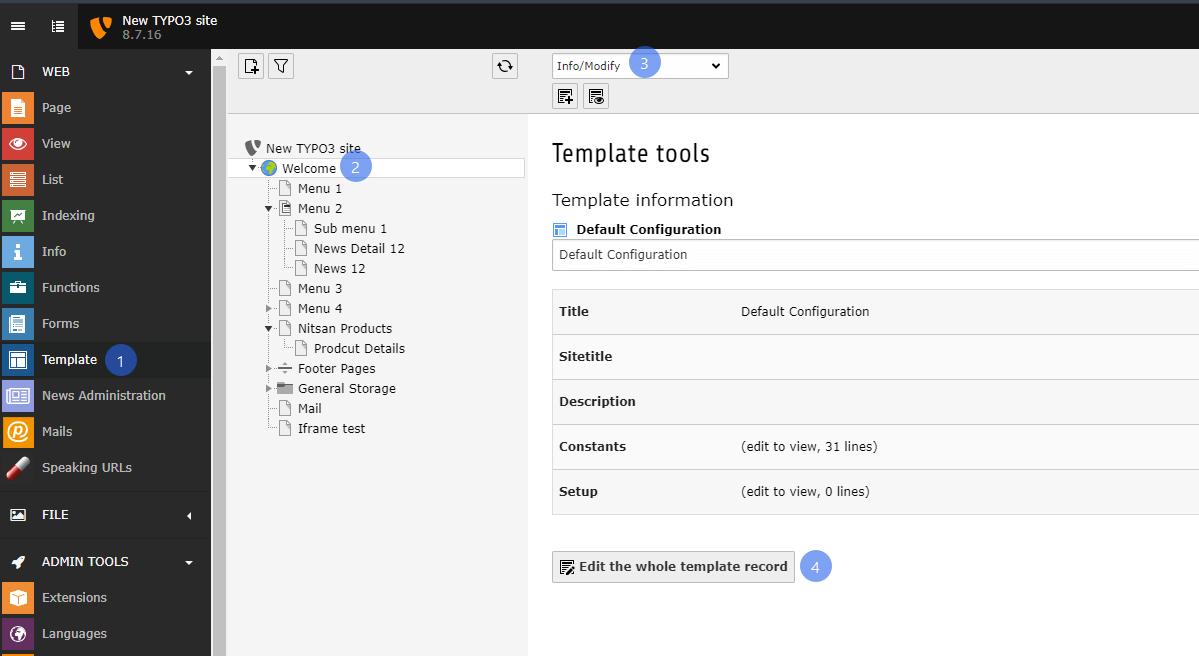
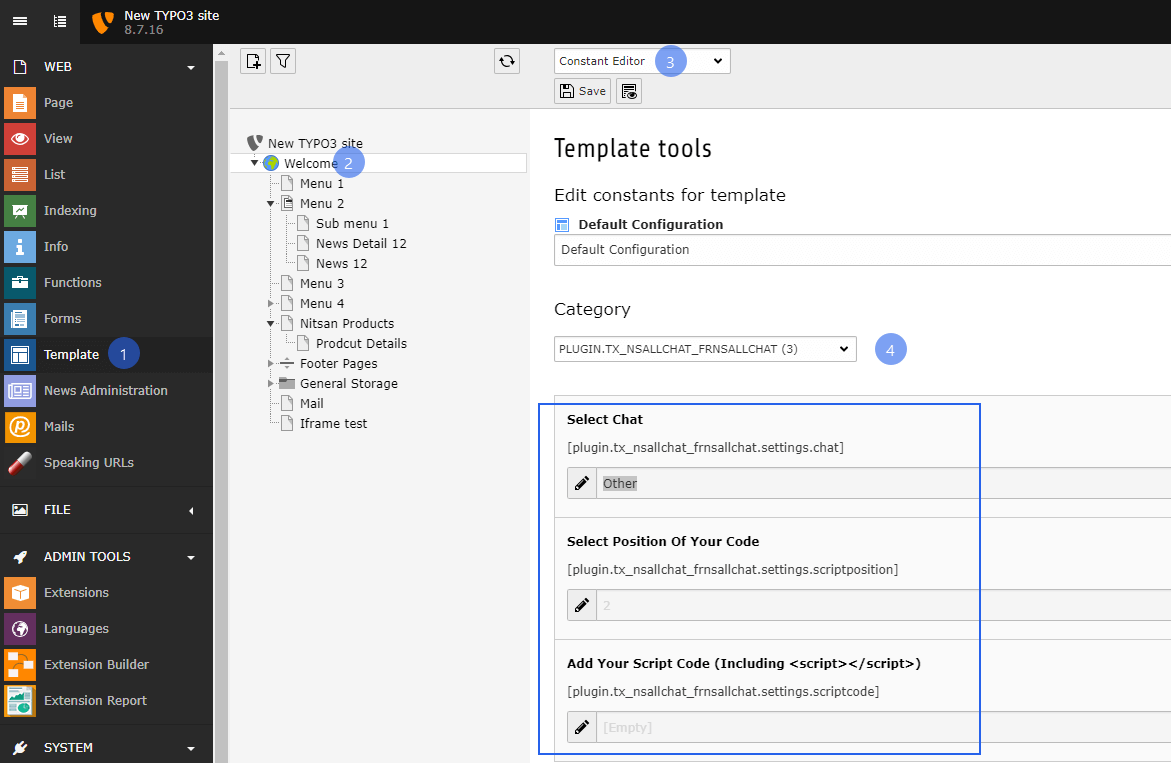
Step 1: Switch to the Template module and select Constant Editor.
Step 2: Switch to the root page of your site.
Step 3: Select Constant Editor from drop down.
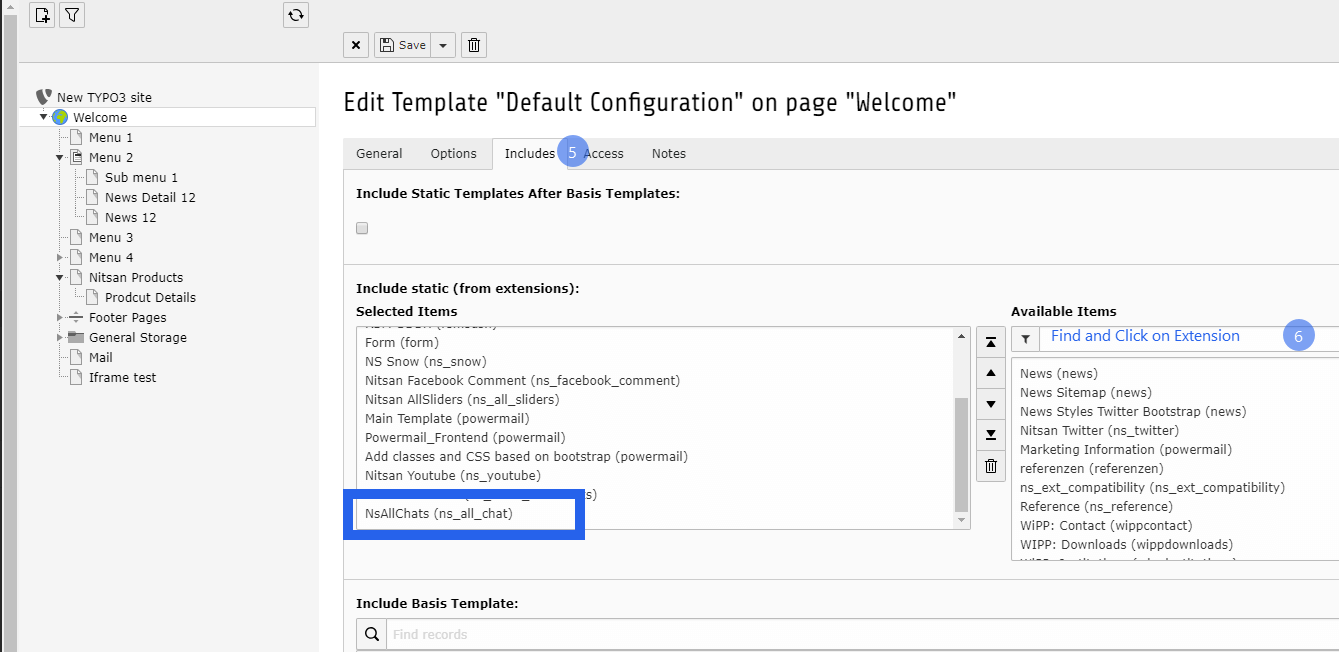
Step 4: Select Category - PLUGIN.TX_NSALLCHAT_FRNSALLCHAT (3).
Now paste your script code over here including (script) to integrate it in typo3.
4. Cache clearing
Please, clear cache from top panel 'Flush frontend caches' & 'Flush general caches'. It will be also great to clear cache from Install tool too.
5. Support
- Support: You could report any issues/problems at Github - https://github.com/nitsan-technologies/ns_all_chat/issues
- Website: www.nitsantech.com/ | https://itug.in/
- Contact Email: sanjay@nitsan.in
Feedback & Suggestions
Just download & try the EXT:ns_all_chat extension. You can write down your feedback/suggestion/comments to below comment box. So, we will adapt it for next version of EXT:ns_all_chat.
Now, It's time go ahead with one of your favourite chat tool, Have a Happy Chat!
![[T3EXT DAY] All in One Chat – Real Time Chat](/blog/fileadmin/ns_theme_ns2019/blog/live/TYPO3-Extension-AllChat/all-in-one-chat_v3.jpg)







Comments and Responses