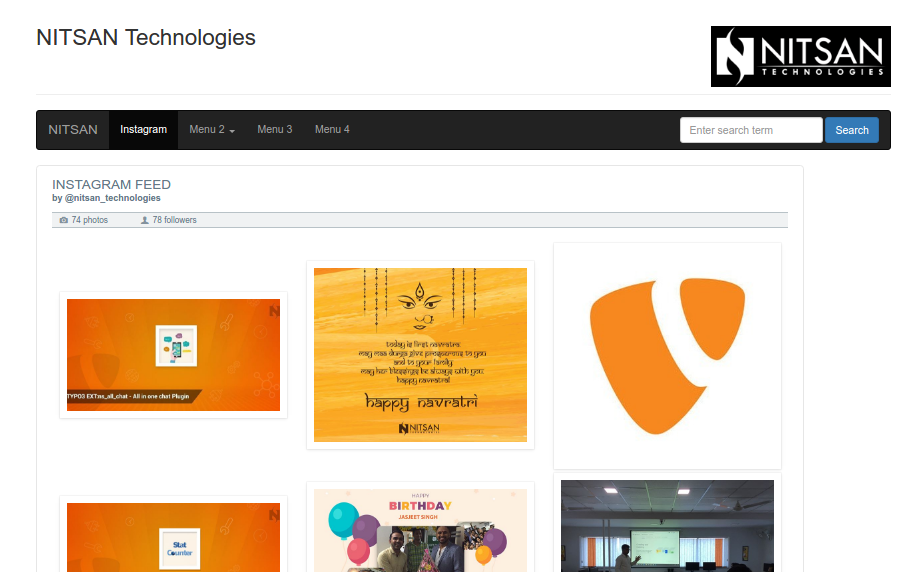
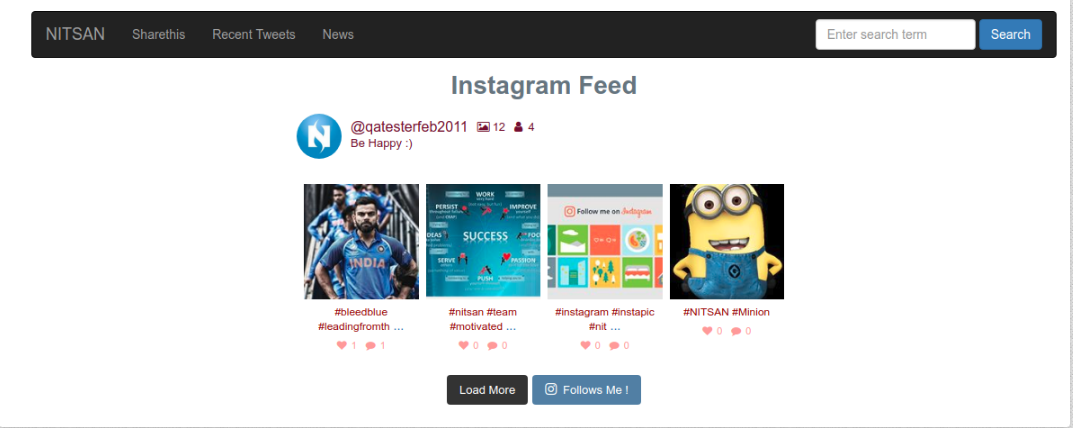
Key features of ns_instagram TYPO3 extension:
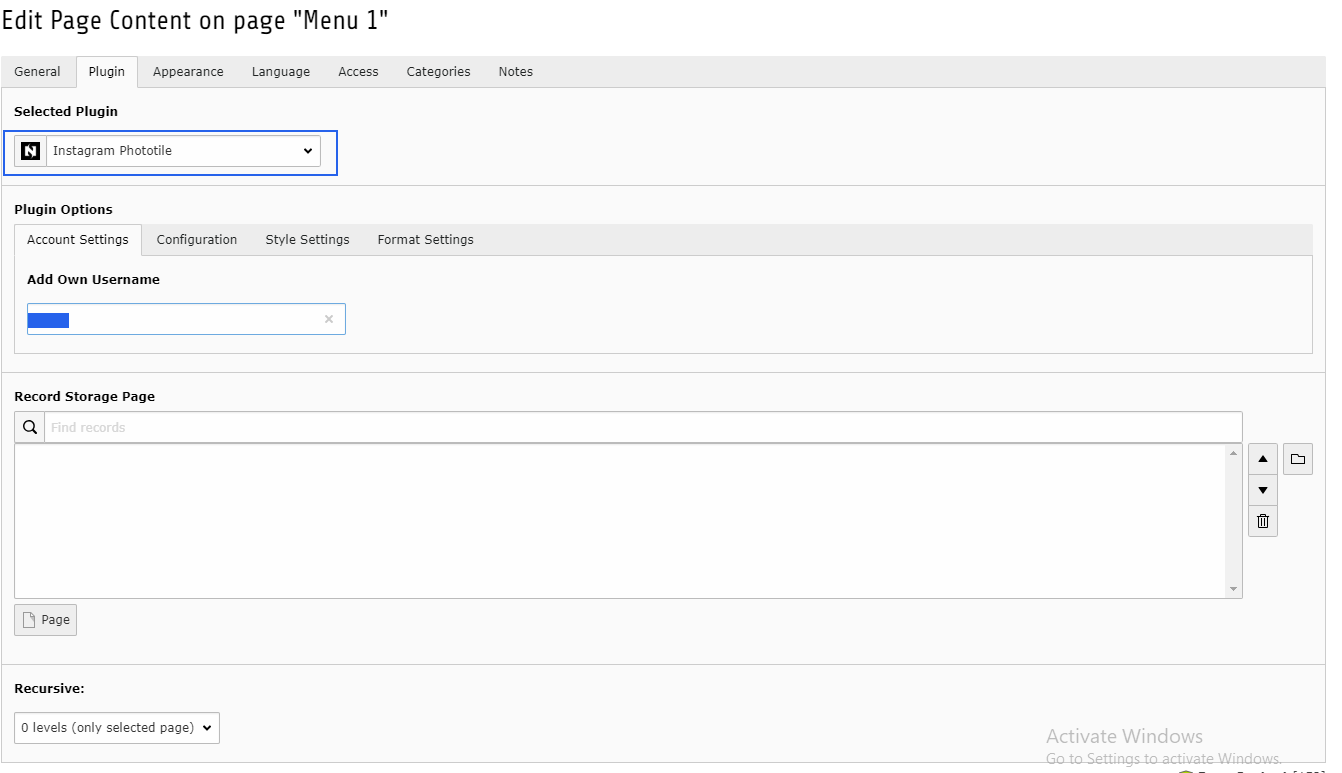
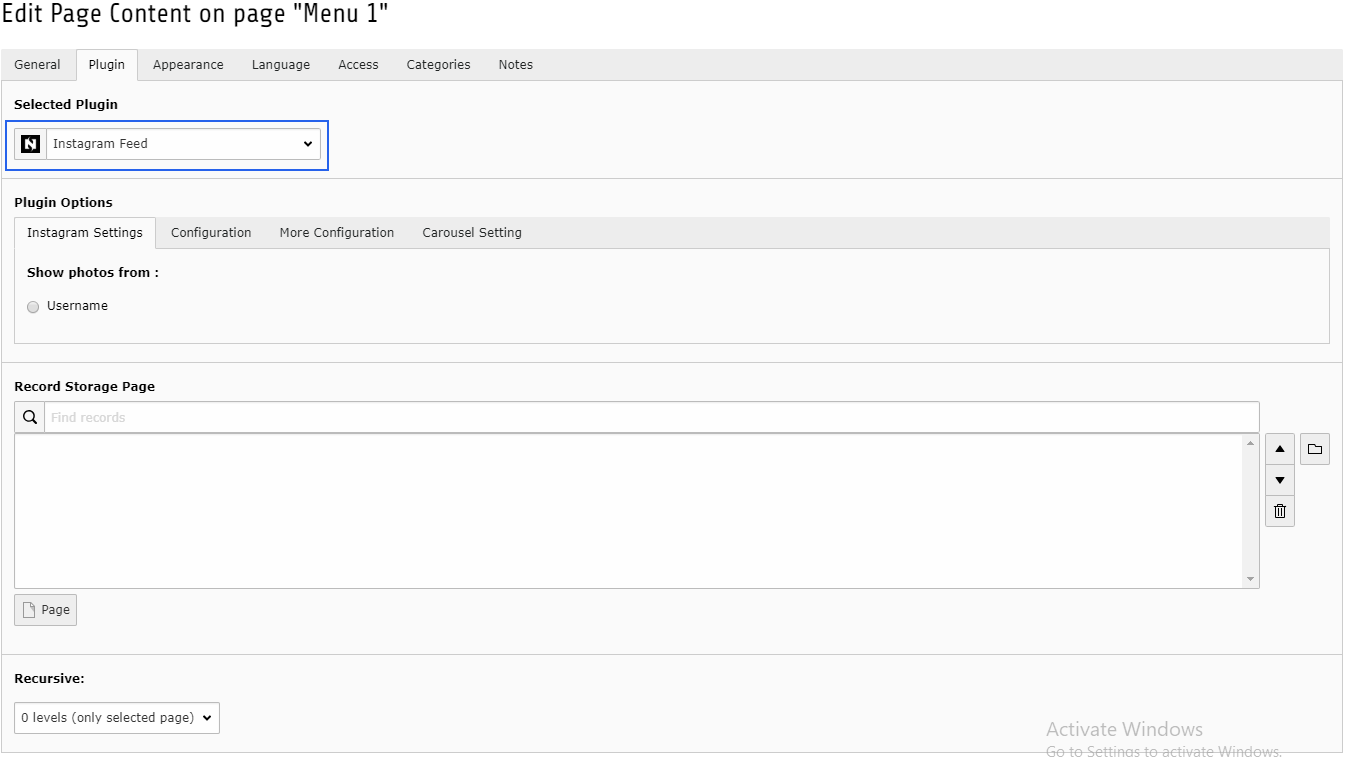
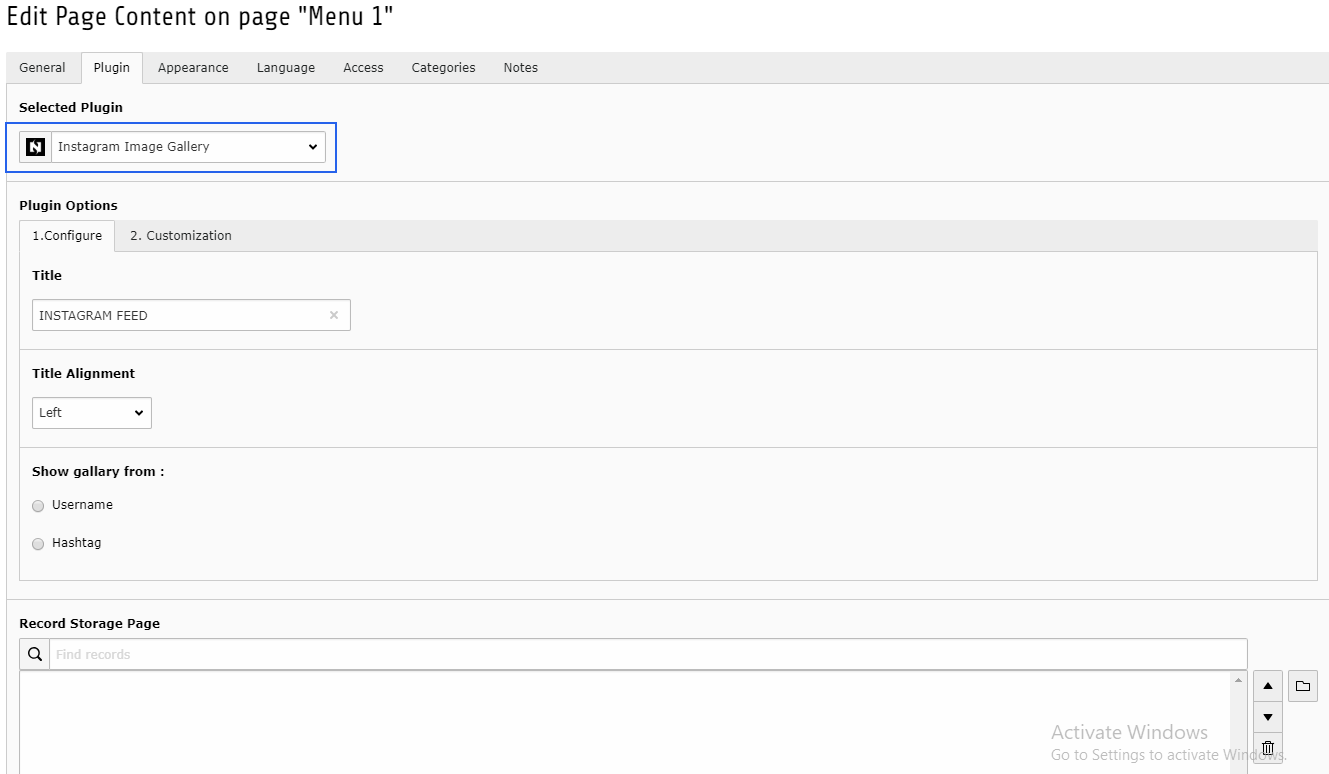
- Super simple to set up
- Display photos from multiple Instagram accounts in the same feed or in separate feeds
- Completely responsive and mobile ready – layout looks great on any screen size and in any container width
- Completely customizable – Customize the width, height, number of photos, number of columns, image size, background color, image spacing and more!
- Display multiple Instagram feeds on the same page or on different pages throughout your site
- Use the built-in shortcode options to completely customize each of your Instagram feeds
- Display thumbnail, medium or full-size photos from your Instagram feed
- Infinitely load more of your Instagram photos with the ‘Load More’ button
- Includes a Follow on Instagram button at the bottom of your feed
2. Overview of extension
| Extension Key: | ns_instagram |
| Extension URL: | https://extensions.typo3.org/extension/ns_instagram/ |
| Documentation: | https://nitsantech.com/blog/t3ext-day-instagram-typo3-extension/ |
| Support: | https://github.com/nitsan-technologies/ns_instagram/issues |
3. Back-end view after plug-in installation
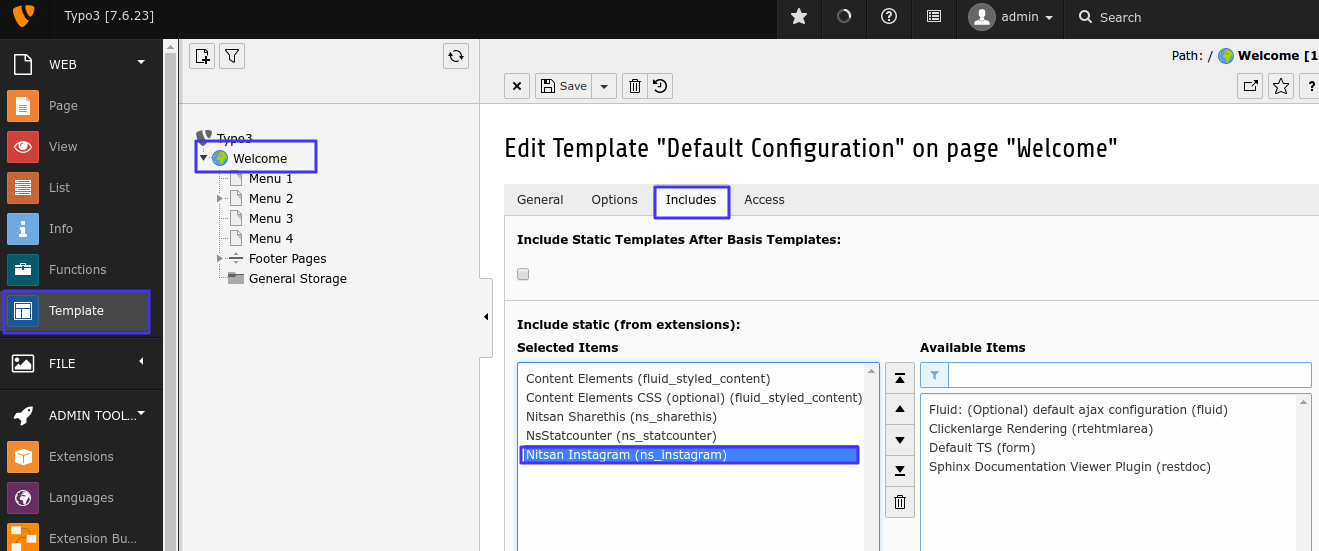
The extension needs to be installed as any other extension of TYPO3 CMS:
3.1 Get the extension
Step 1: Switch to the module “Extension Manager”.
Step 2: Get the extension -
- Get it from the Extension Manager: Press the “Retrieve/Update” button and search for the extension key 'ns_instagram' and import the extension from the repository.
- Get it from typo3.org: You can always get current version from https://extensions.typo3.org/extension/ns_instagram/ by downloading either the t3x or zip version. Upload the file afterwards in the Extension Manager.
Step 3: Now install the Extension.
4. Instagram API Configuration
4.1 To activate the Instagram service for your TYPO3 site
Step 1: Signup with Tour Instagram Account at here. https://www.instagram.com/accounts/login/?next=/developer/
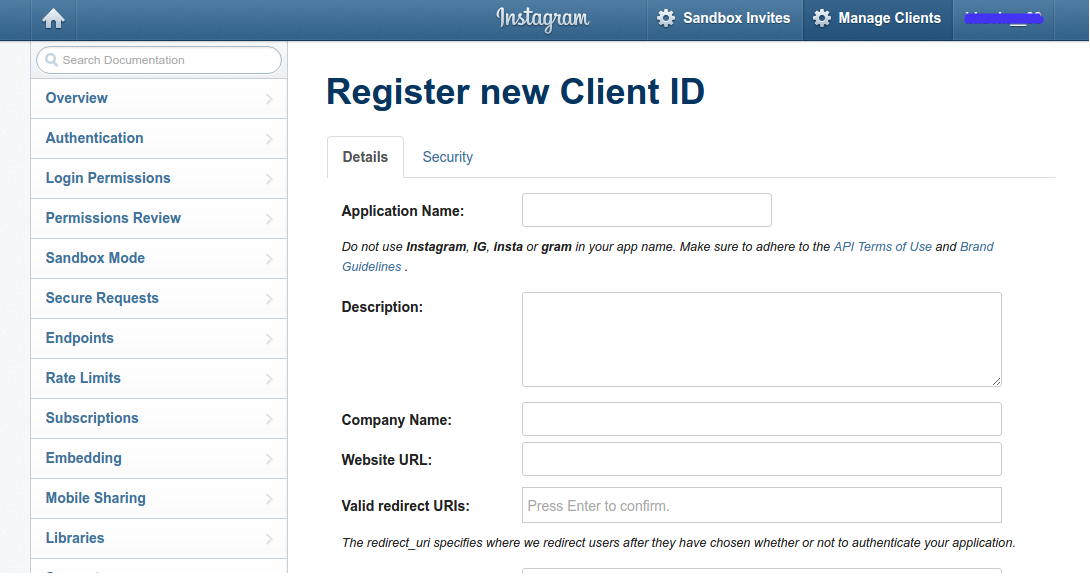
Step 2:"Register new Client ID" at there.
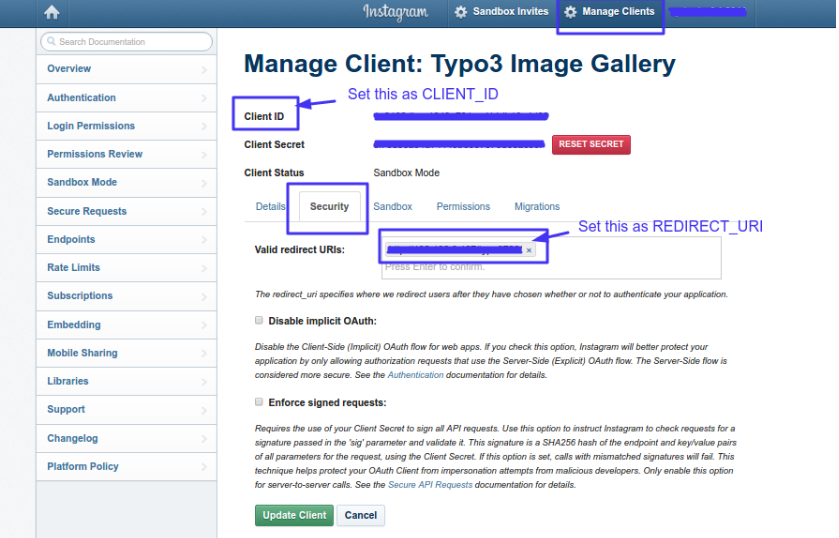
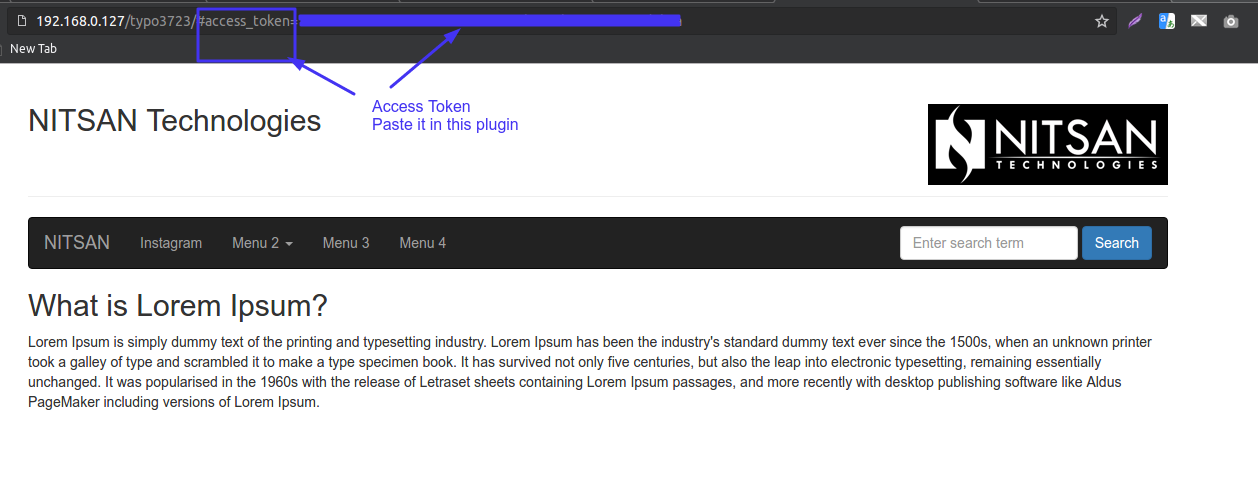
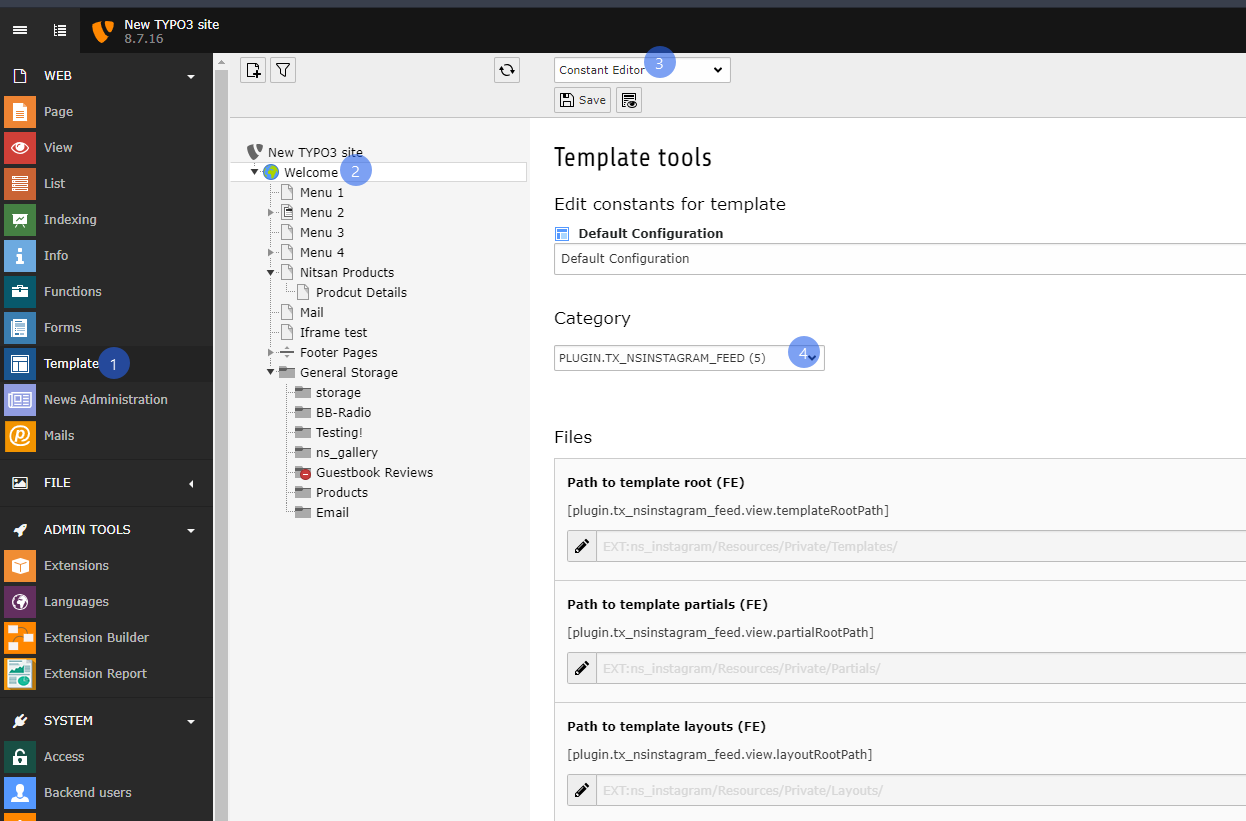
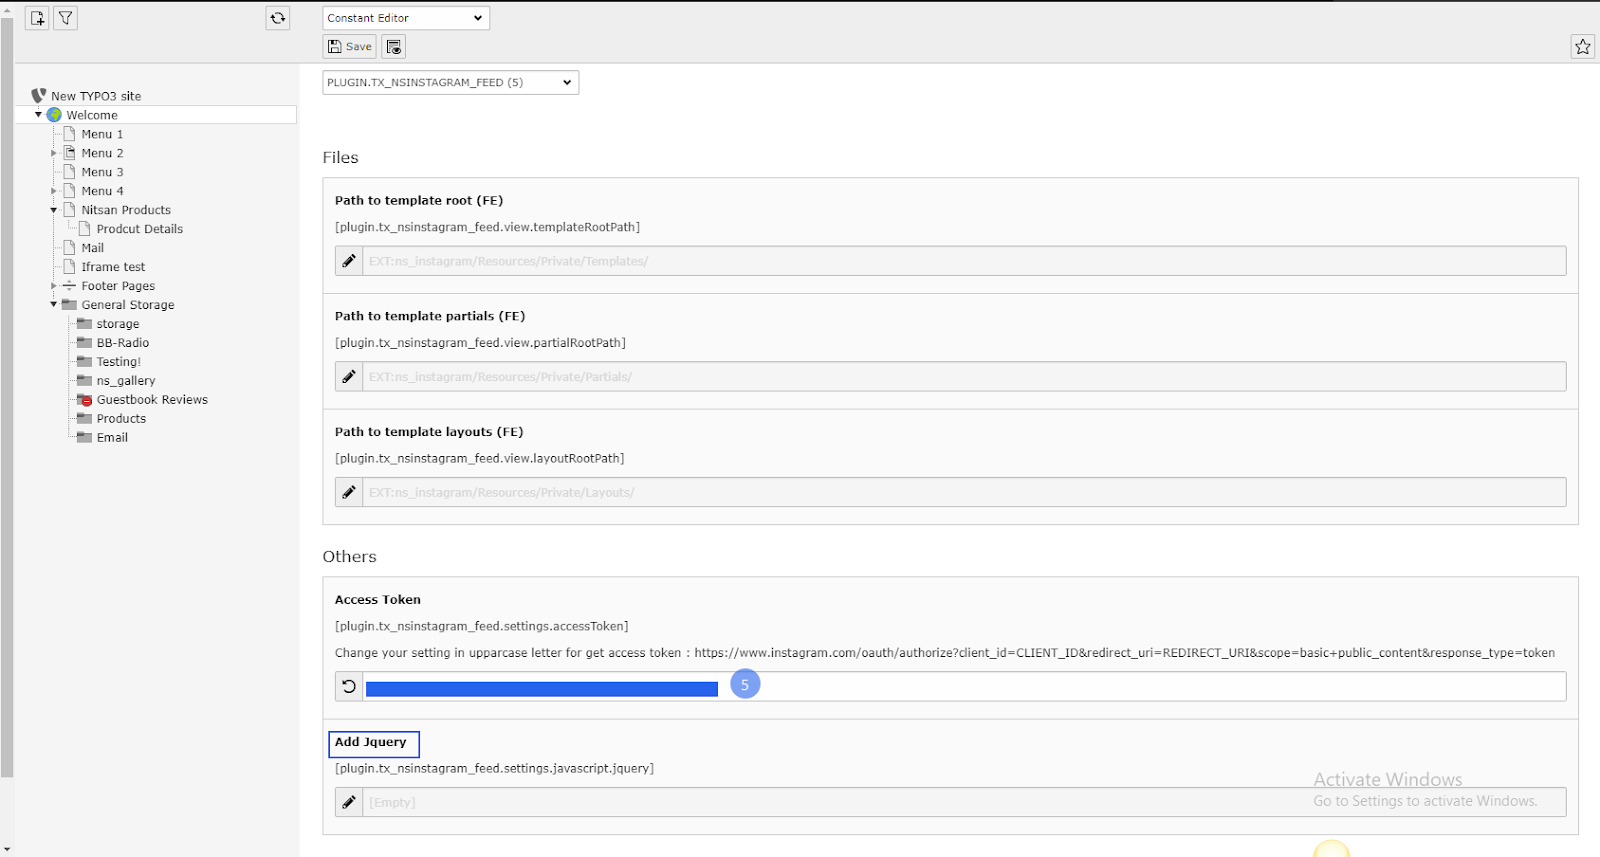
Step 4: Replace "CLIENT_ID" and "REDIRECT_URI" in below URL which you get from there.
5. Clear Cache
Please, clear cache from top panel 'Flush frontend caches' & 'Flush general caches'. It will be also great to clear cache from Install tool too.
6. Support
- Support: You could report any issues/problems at Github - https://github.com/nitsan-technologies/ns_instagram/issues
- Website: www.nitsantech.com | https://itug.in/
- Contact Email: sanjay@nitsan.in
Feedback & Suggestions
Just download & try the EXT:ns_instagram extension. You can write down your feedback/suggestion/comments to below comment box. So, we will adapt it for next version of EXT:ns_instagram.
Now, show your beautiful Instagram Feeds at your great TYPO3 site
![[T3EXT DAY] TYPO3 Instagram Extension](/blog/fileadmin/ns_theme_ns2019/blog/live/TYPO3-Extension-Instagram/Plugin-for-instagram.jpg)






Comments and Responses